How to ferment wild greens
A step-by-step guide to fermenting wild greens that works especially well for wild garlic and wild leeks.
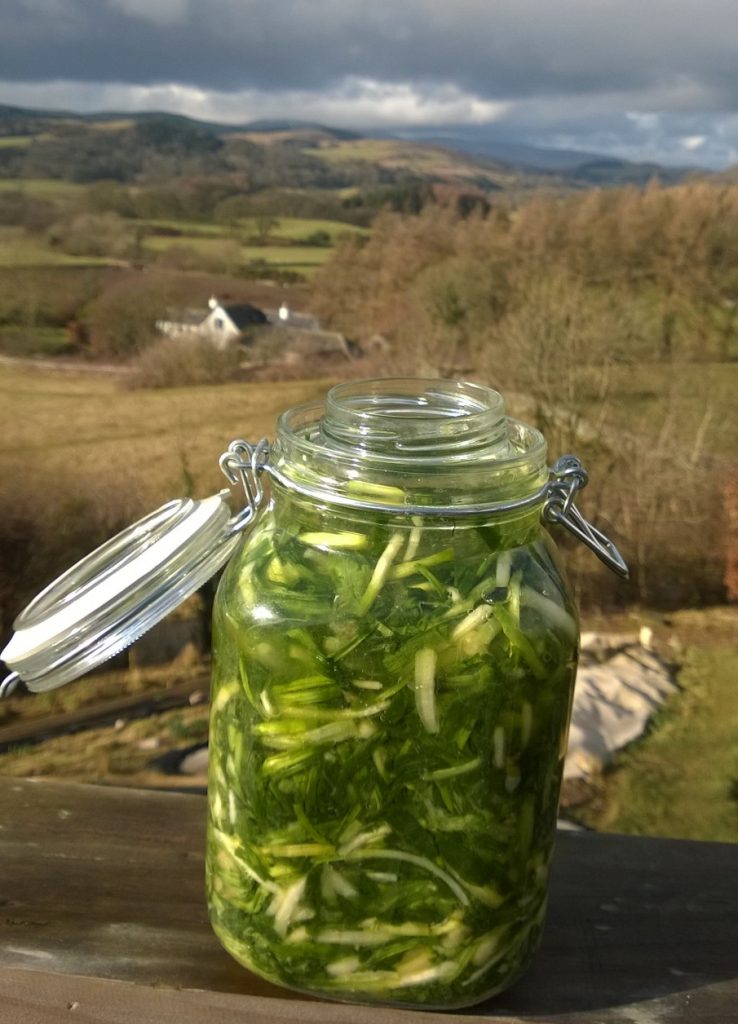
Fermented wild garlic
Fermentaion is the oldest, simplest and arguably tastiest means of preservation known to man. There isn’t a culture that doesn’t have a fermented preparation near the heart of its food culture – think kimichi, soy sauce, saurkraut, beer, yogurt, sourdough…the list is endless. I’m not going to go into this vast world here – check out Sandor Katz’s excellent website and books for a breath-taking introduction to the art, craft and science of fermentation in all its guises. I just want to describe a simple preparation that turns some already tasty wild foods into something truly delicious that is even better for you than the original, and keeps really well. Better still, you need next to no ingredients.
Many people that seem to be happy to spend money on expensive “probiotic” drinks, under some vague understanding that they are good for them, balk at the idea of fermenting plants. Stepping from a world governed by “use by” dates and built-in food-waste to one where natural flora and bacteria are encouraged to “pre-digest” our food is an understandably big step. But it is an important and hugely rewarding step and I urge anyone to take it for gastronomic, health and even spiritual reasons! It is well worth remembering that humans are not one creature, but complex array of mutually beneficial organisms – especially when it comes to digestion.
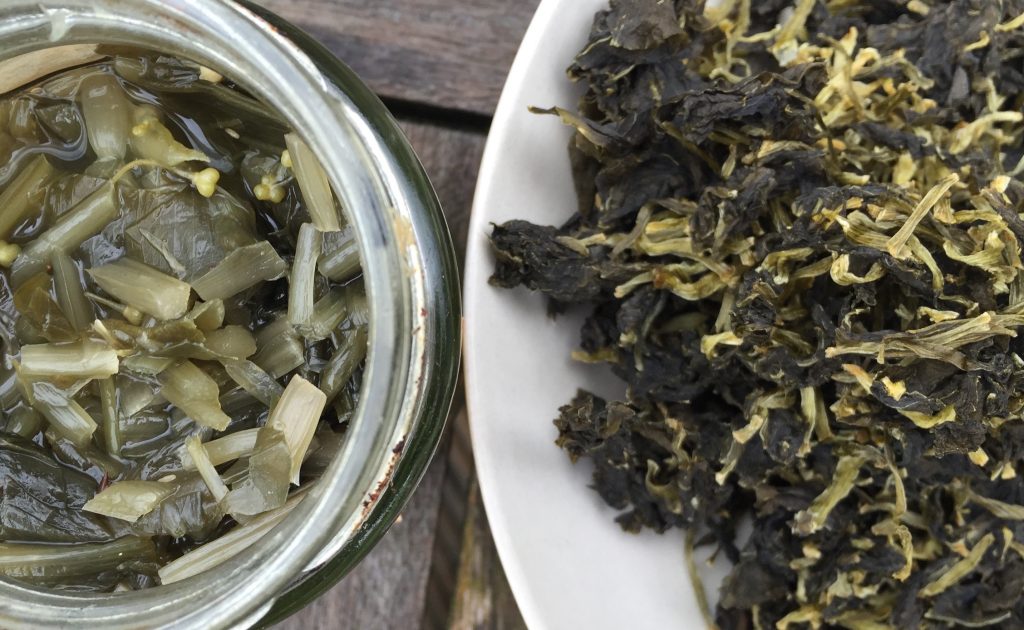
Fermented wild garlic wet (L) and dehydrated fermented wild garlic for seasoning/spice mixes (R)
I’m not professing to be an expert on this science/craft/art. I have a standard “dry” fermentation preparation that works extremely well for me and is always a huge hit on my walks and with chefs I work with. I say “preparation” rather than recipe because there really is no recipe – follow the steps, experiment, find out what works for you.
I describe my method as “dry” fermentation because, for the most part, I add no liquid – the plant matter ferments entirely in its own juices. “Wet” fermentation follows a similar process, but the plants are added to a brine. I prefer dry fermentation where possible as their is no dilution, only enhancement, of flavour.
Enough introduction – here are the steps to follow – I suggest you just have a go and see what you think – there is no large outlay of time, effort or ingredients required. This may seem like a lot of steps, but they are all very easy and require only your green matter for fermenting, a little bit of salt and some clean jam jars or a kilner. Don’t be scared! I have listed some trouble-shooting steps at the end and some suggestions of how to use your ferments.
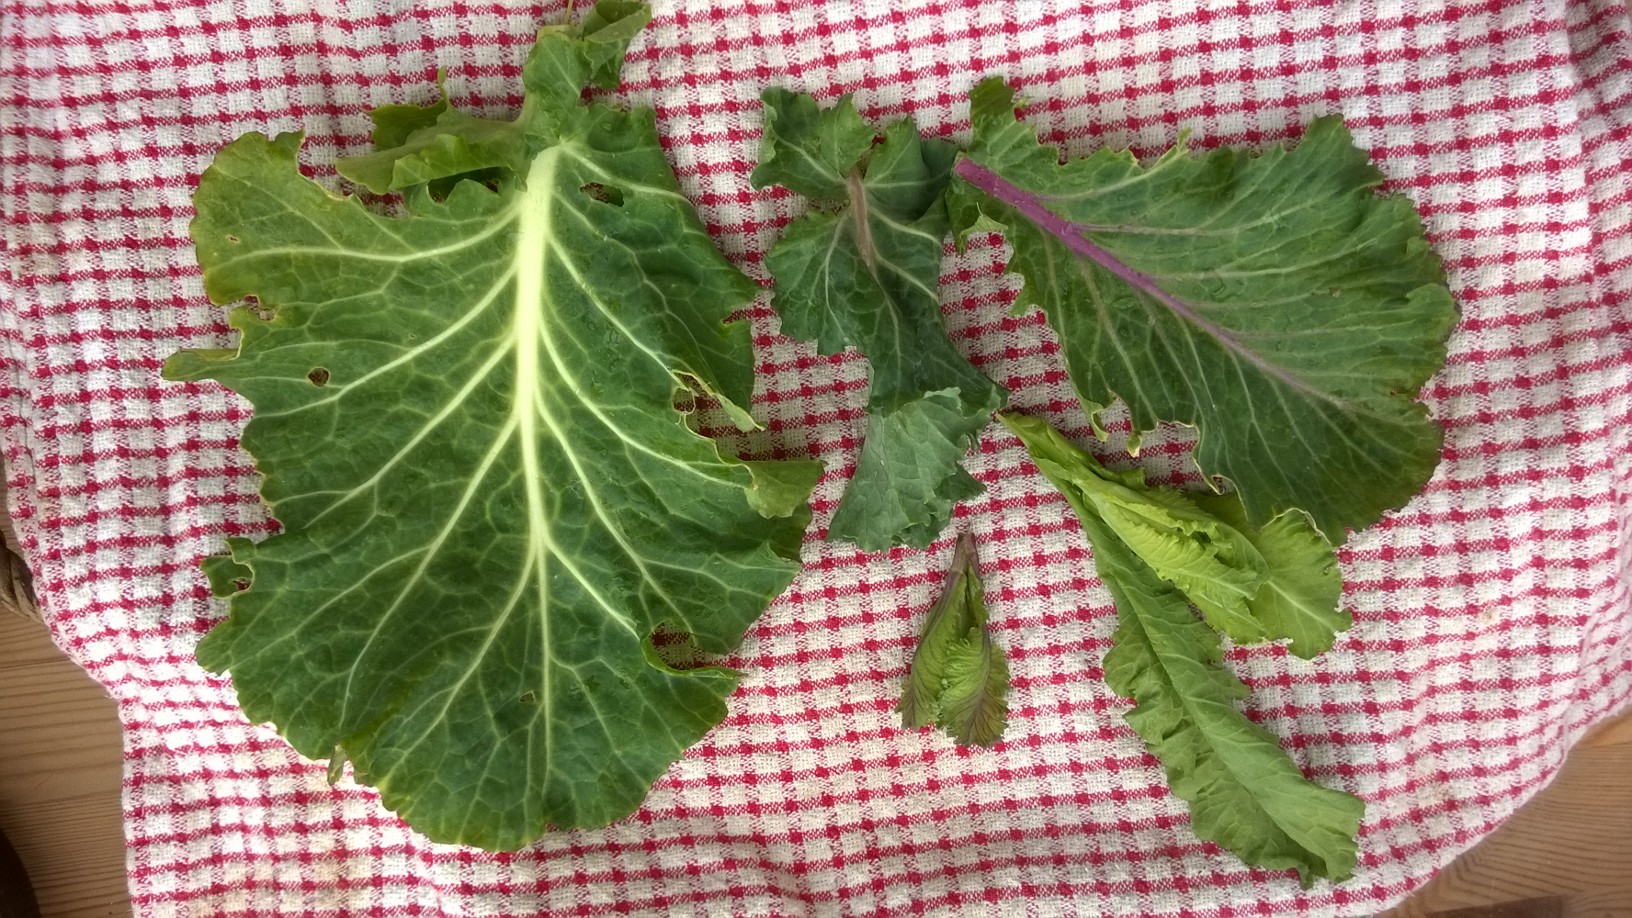
1. What to ferment?
I recommend you start with something you can gather quickly and easily in decent quantities. Wild garlic or other edible alliums like few-flower or three-corner leek are excellent candidates and I strongly recommend starting with these if you are new to fermenting wild plants. Both are easy to come by in quantity, and, while tasty enough fresh, have quite a one-dimensional flavour that becomes much more complex when fermented. They are also very reliable fermenters – they hardly ever go wrong. I’ve never quite got to the bottom of why this is, but suspect its due to their high water content, lack of hairs (which can trap air which disrupts fermentation), and the presence of sulphurous compounds.
You could also try cow parsley, nettle, ground elder, sea beet, sea aster, wild cabbage, sea radish, garlic mustard, common hogweed or any green, leafy wild plant. If gathering plants with a lot of stalk, like cow parsley, you can include all but the toughest stems.
2. Round up enough of the plant you wish to ferment.
How much is enough depends on how much you’d like to make, the plant you are using and the vessel you wish to ferment it in. Going on wild garlic, if you want to fill a 1 litre kilner, you will need a surprisingly large amount – a well filled carrier bag. A quarter of that would do for a standard jam jar. The plants you use should be squeaky-fresh – I don’t recommend this process to “rescue” stuff thats been lurking in your fridge for a week. For the rest of this process, i’ll be referring to making your ferment with wild garlic.
3. Wash the plants and remove excess moisture.
A quick whizz in a salad spinner will do – you don’t want the plant dripping in tap water – it contains chlorine and additives that inhibit fermentation. Once washed, weigh the plants and calculate what 2% of that weight is. (Ready-reckoner: 2% of 1kg is 20g)
. 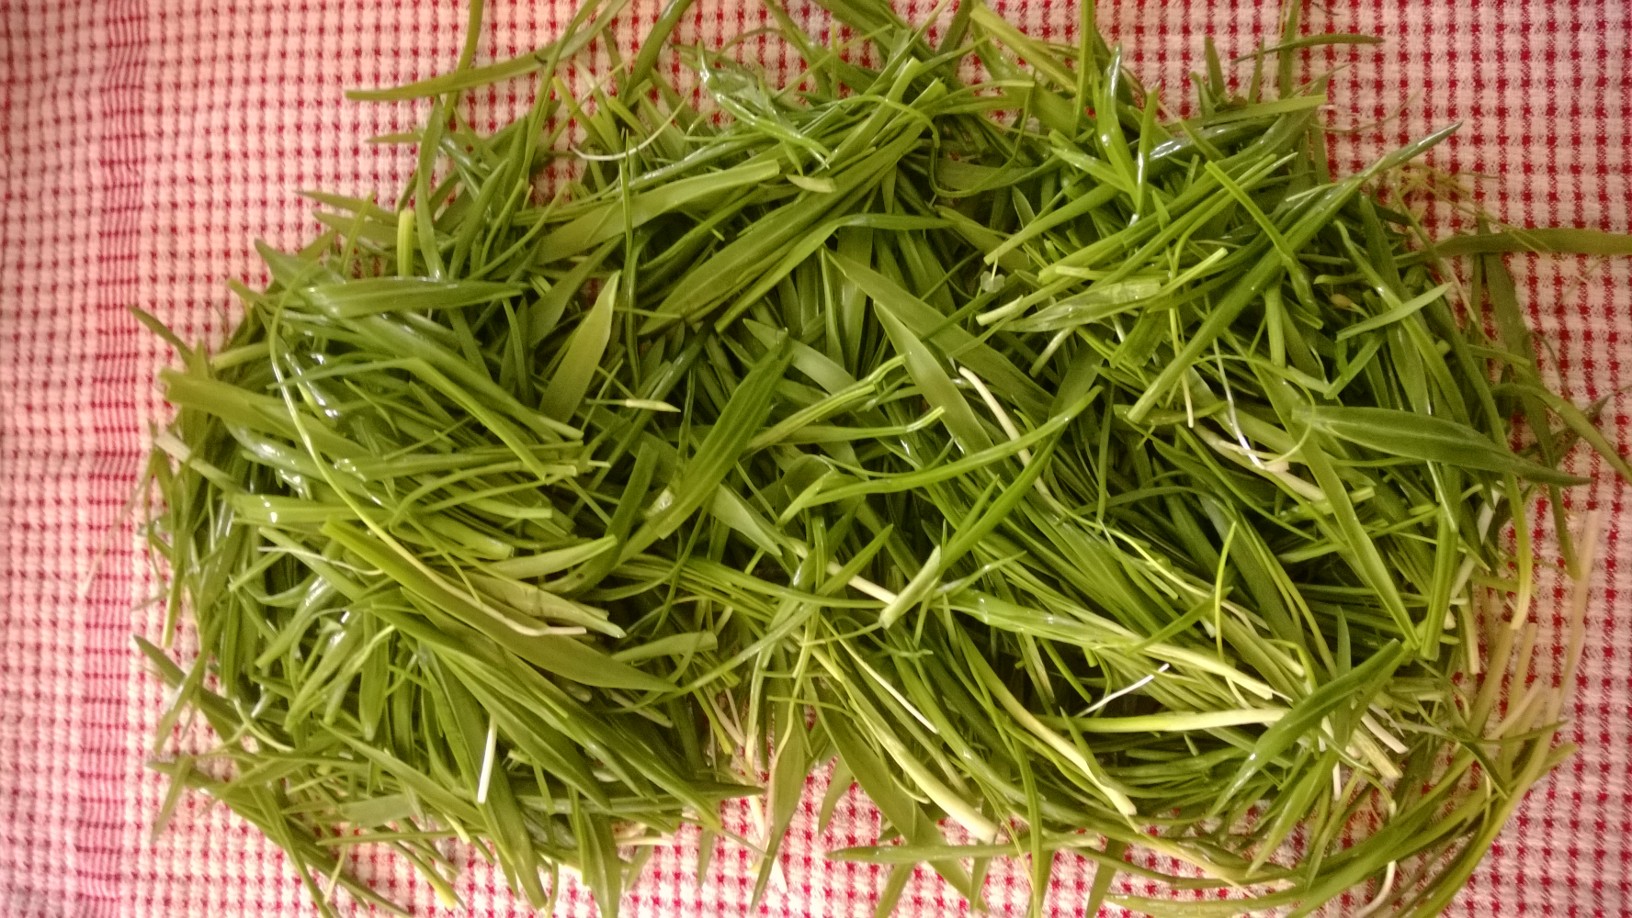
4. Shred the plants.
You could leave wild garlic, nettle, sea beet etc leaves whole – this is mostly a matter of preference. I suggest shredding as this makes it easier to spoon the finished product out of the jar later.
5. Place the shredded plants in a large open bowl, a few handfuls at a time.
If you are only fermenting a small amount, it can all go in the bowl at the same time.
6. Sprinkle each layer lightly with natural sea salt (2% – 3% of weight of fresh plant)
It is important to remember that the salt is not a preserving agent in this process, merely a means of drawing out the leaves’ natural juices – in the same way as aubergines are often sprinkled with salt, only here you want to keep those juices. 2% salt by weight is adequate for this process, but you could go up to 3%. You may be tempted to add too much salt first time around. This is OK, you’ll just have quite a salty ferment and perhaps won’t add so much the next time. It is possible to ferment without adding any salt at all – but I suggest leaving that until you are more confident with the process.
7. Leave to stand for 20 to 60 minutes in ambient temperature.
This allows the salt to start its work drawing the juices from the leaves.
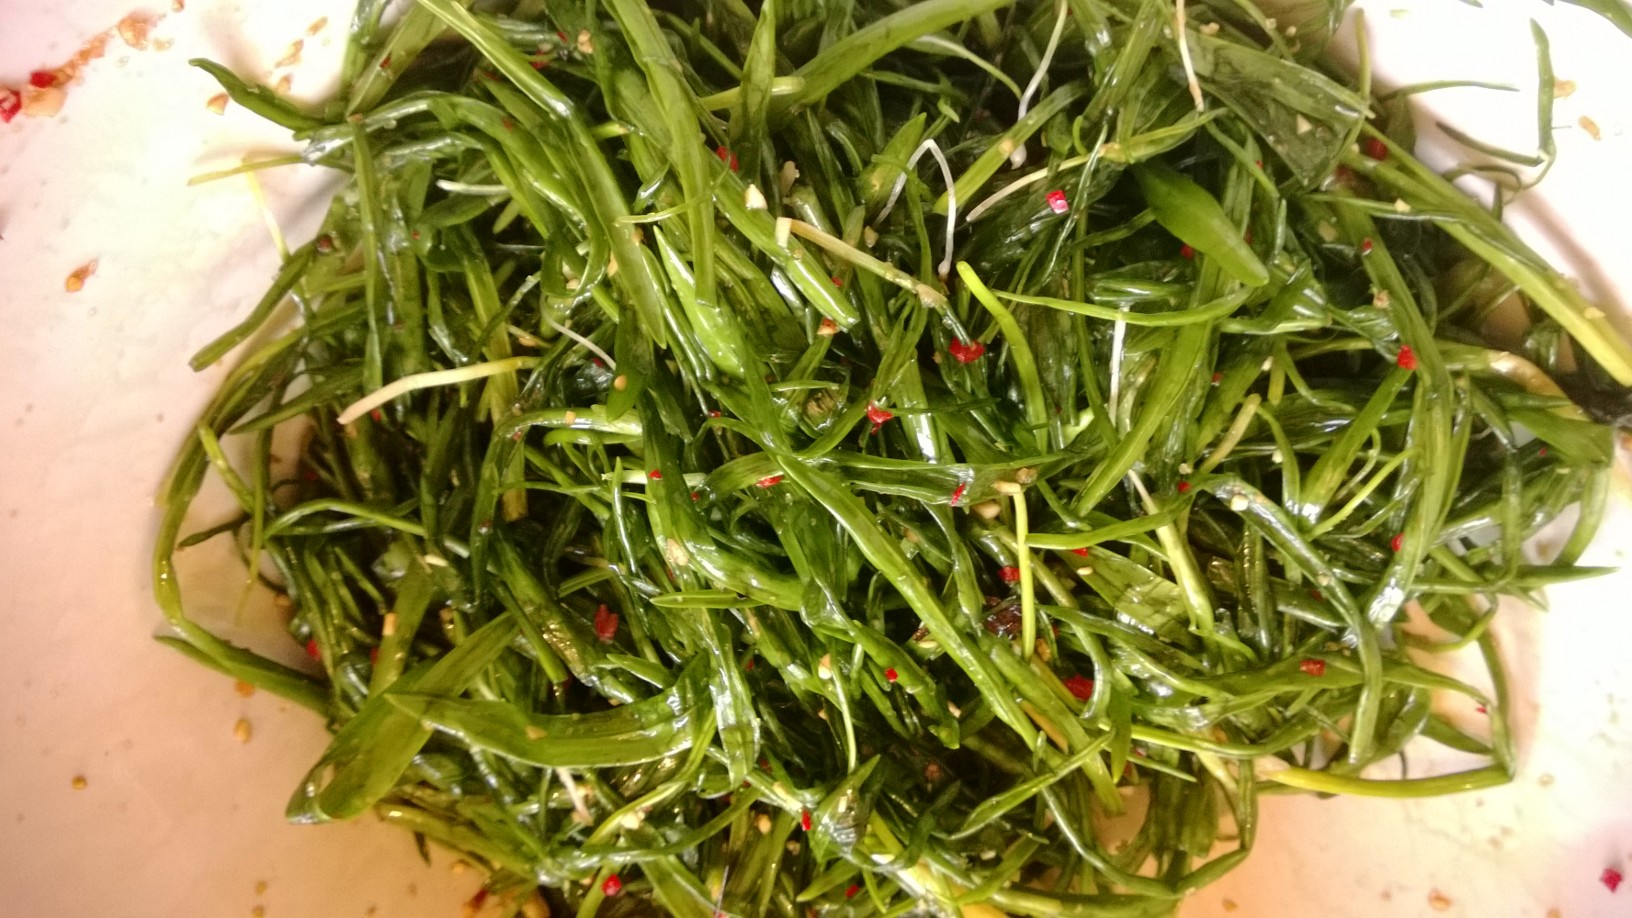
Salted few-flower leek (with chilli, ginger, nam pla)
8. Massage the salted, shredded leaves.
Give them a good rub/massage with your hands until they darken, become wet and start to lose their form.
9. Cover and leave to stand for at least 60 minutes, but ideally for 24 hrs
Weighing the leaves down with a plate with something heavy on top can help get the juices flowing here – but its not essential.
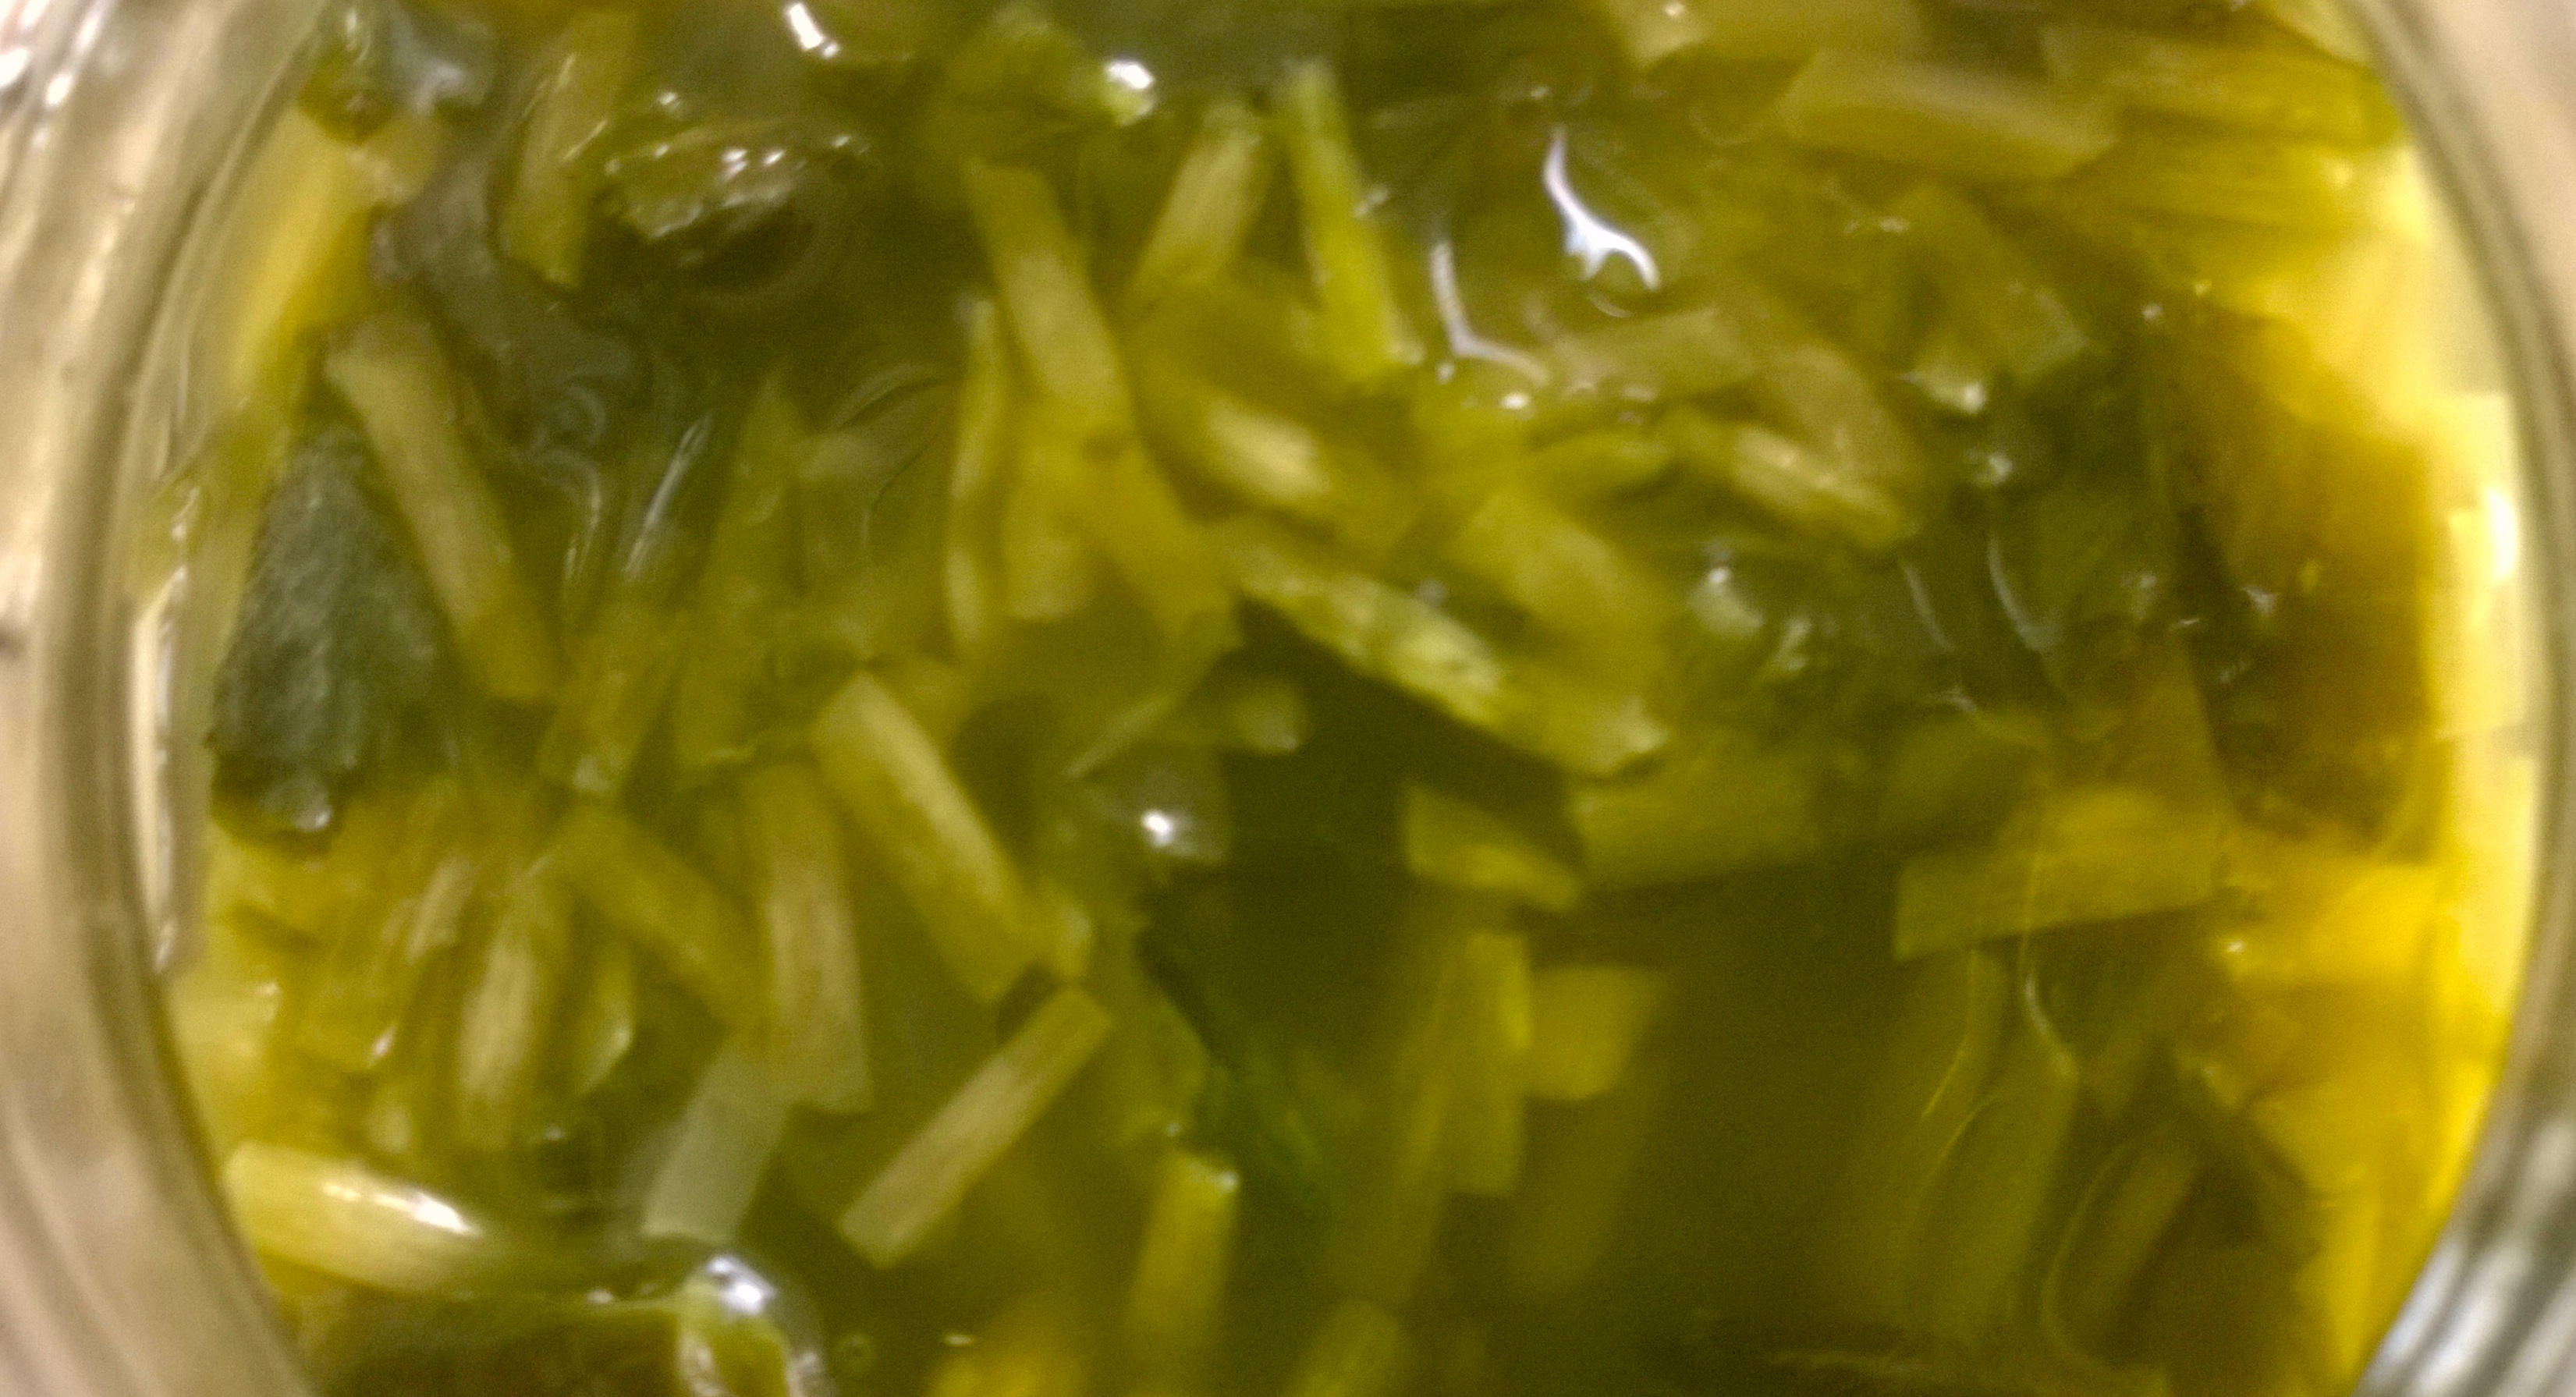
10. Pack the leaves firmly into a glass or earthenware vessel.
Your greens should by now have collapsed into a wet mass, with lots of juice exuded from the plants. You now need to pack that densely into jars. Ensure the vessel is very clean – some folk sterilise in a ban-marie in the oven, but I find rinsing already clean jars out with boiling water is sufficient – especially when fermenting wild garlic or wild leeks. Jam jars work fine, or kilners if you are doing a larger amount. As you add the leaves to the vessel, champ them firmly down with the end of a spoon or rolling pin or your fingers if they reach – it is important to avoid air pockets between the wet leaves. By the time you have three quarter filled the vessel with champed down plant, you should be aware of plenty of juice. If you are packing into multiple vessels, ensure you add the liquid left in the bowl evenly to top up each vessel to about three quarters full.
11. Test for liquid.
When your vessel is about three quarters full, press firmly down on the leaves. There should be enough liquid to cover the leaves. If there isn’t, ensure you have evenly distributed liquid if you are using multiple vessels. If you cant get the juice to cover the leaves, add some natural, uncarbonated, mineral water – DO NOT be tempted to add tap water, as the additives inhibit fermentation.
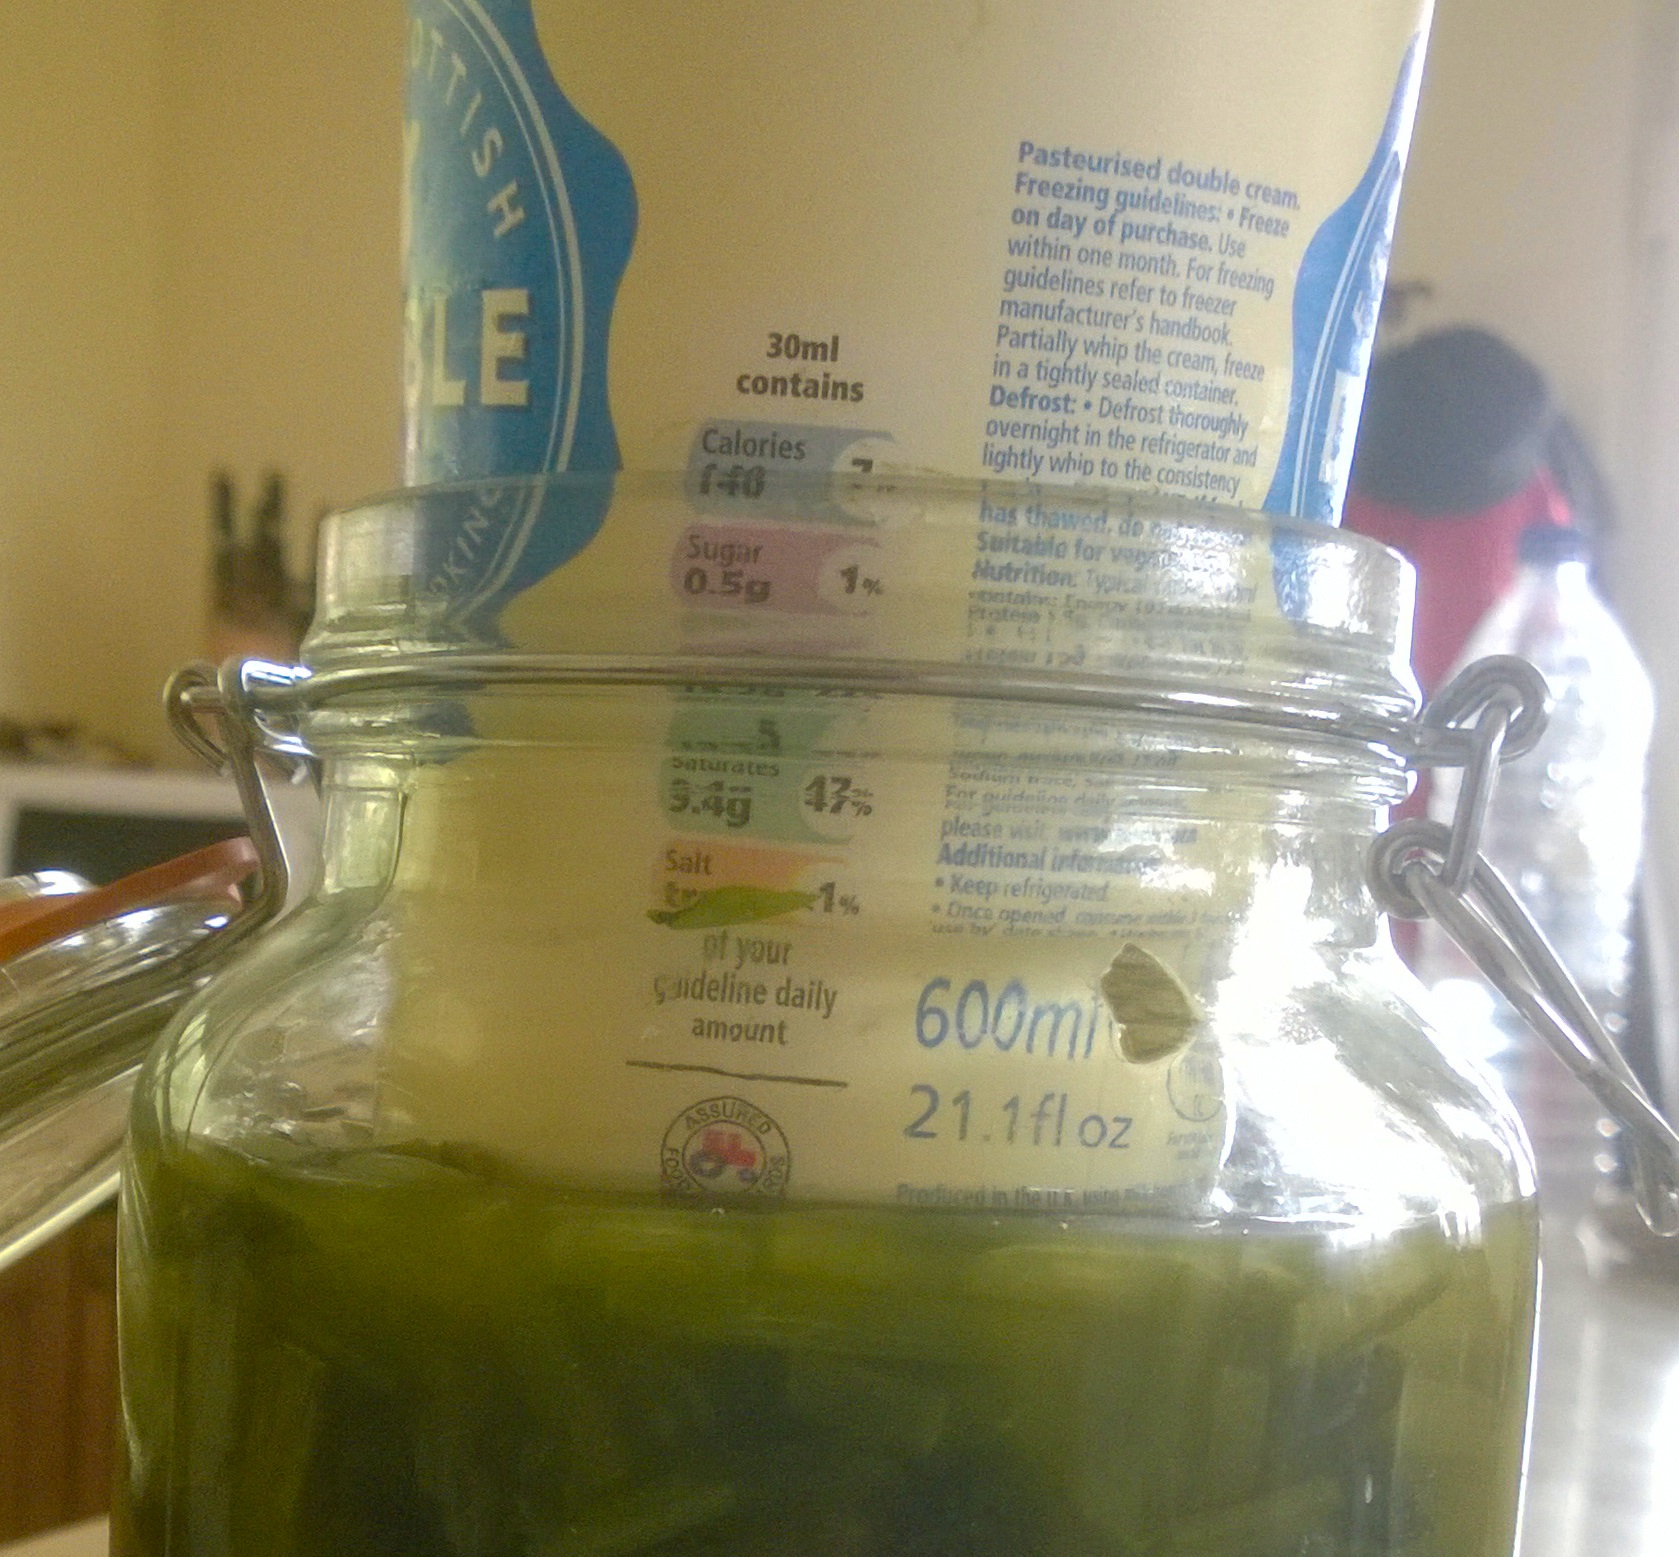
12. Weigh the leaves down in the vessel.
Fermentation must take place in an anaerobic environment – ie. with no air present. So now you need to find a way to keep the leaves weighed down beneath the level of the liquid in the vessel. Traditional fermenting crocks have specially designed lids for this very purpose. I don’t have one, but fortuitously, a standard jam jar or large yogurt pot is just the right size to sit inside my kilner jars, and tiny yogurt pots or jars are often the right size to fit inside standard jam jars. So play around and see what you come up with. Typically, a jam jar filled with water (or, cunningly, another ferment) should be enough to keep your fermenting leaves submerged. Failing to exclude air at this stage is the main reason that ferments go wrong – so do spend some time ensuring that your ferment is sealed by liquid from the air. Wild garlic or wild leeks are less critical in their requirement for weighing down – but you should still do it if you are new to the process.
Put the lid on your jar, but don’t screw it tight as the ferment will emit CO2 as it progresses. The lid is purely to keep insects out. Kilner jars with the rubber seal removed work for this, and can help to hold down whatever you are using to keep things submerged. Alternatively, a piece of muslin secured with string or a rubber band will protect your ferment from flying insects. If you are fermenting in warmer months, small fruit flies (that have evolved to detect fermenting fruit and vegetables from great distances) can seem to appear like magic around ferments
13. Leave to ferment at an ambient temperature.
Resist all temptation to put the ferment in the fridge. The helpful bacteria that will preserve and give character are dormant at low temperatures. Do not be alarmed by white froth/bubbles forming – this is a normal part of the fermentation process. You can scrape the froth off if it disturbs you! Blue mould, blackening or a “cheesy” smell are not good signs – see below for trouble-shooting.
If your jar/vessel is quite full, the emission of bubbles during fermentation will cause the contents to expand, which may result the liquid overflowing from the jar. So I strongly recommend you sit the jars in a tray while they ferment, lest you end up with fermenting juices running everywhere!
14. How long to leave the ferment?
Leave it to ferment at ambient temperatures for at least a week, but as long as you wish. By ambient, I mean the temperature of a normal centrally heated house – but not near direct heat. Within a week if you taste a bit, you should notice the characteristic slightly “fizzy” mouth-feel of all lacto-fermented greens (if you are not sure what this sensation is, buy any half decent saurkraut from the shops and taste that) . The greens should retain a surprising crunchiness for something that looks so wet and wilted. The sharp, pungent flavours (of wild garlic for example) should have mellowed into a rounder, more complex flavour. When you are happy with the flavour, and most bubbling seems to have finished, remove the weighing-down item and put on the lid.
15. How to store your ferment
Once fully fermented your ferment should have a PH of less than 4, which makes it stable and immune to moulds, even at ambient temperatures. Chefs and commercial fermenters often use PH meters to check this, but it isn’t really necessary at home, provided you have followed my guidelines. If you have fermented in a large vessel, its best to re-jar the ferment in smaller jars for storage – this keeps air exposure to a minimum. The acidic nature of the ferment means it can rust/corrode metal lids, so if you are using them, and intend to store your ferments for a while, stretch a bit of cling film under the lid as you screw it up stops this happening, and keeping you jars upright helps too.
You can store your ferments unrefrigerated, provided the temperature is reasonably cool and doesn’t fluctuate – eg. a basement, garage or cellar. I don’t recommend storing them in a centrally heated house, or a space that gets warm in summer, for any length of time – keep them in the fridge if you don’t have a stable cool space.
The ferment should keep well for many months in sealed jars – mine are still great eating after 2 years in the garage. Once you open and start using, store them in the fridge and consume within a month.

Troubleshooting
If you are new to fermenting, I expect you will feel a bit anxious that the ferment will go “off”. This is highly unlikely if you have started with wild garlic or wild leeks and followed my guidelines. Other greens can be more temperamental but I have had very few problems with the method above, except when I topped up a common hogweed ferment with tap water. The top level went black and it developed an unpleasant smell that was instantly recognisable as “off”. Observe your ferment and trust your senses. Blue mould, blackening and a cheesy smell are bad signs and usually occur because you haven’t created anaerobic conditions and/or your vessel/plant matter wasn’t clean. All may not be lost however: you can scrape off the top mouldy layer, top up with uncarbonated mineral water and a little salt, and give it another chance.
Variations
The simple alchemy of this preparation is part of its charm, but it is easy to add a few twists. Try adding nam pla (fish sauce), chilli and ginger to make vietnamese style kimichi. Green hogweed seeds, sea rocket or wild garlic/leek capers add a bit of extra kick. I make a salty fermented fish sauce from spoot clam offal (garum) which I use instead of salt for fermentation – it adds an extra meaty umami oomph. Play around!
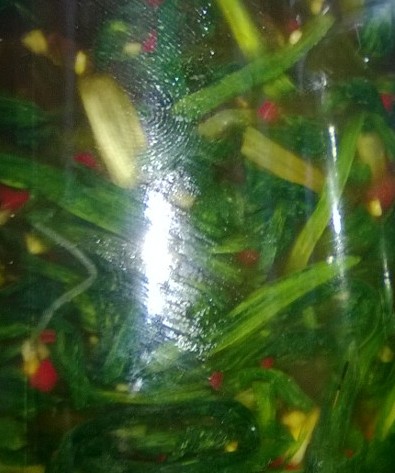
Kimichi wild garlic
How to eat
A friend (who is a real pickle fan) successfully made this preparation, but when I asked him how he was getting on with it, he said he didn’t know what to do with it. Much depends on what you have fermented, but here are some general thoughts on things that work for me:
- As a condiment – on the side of salads, stir-frys, curries etc
- As a part of a salad
- Added into wild garlic pesto, to add a deeper, more acidic note (instead of lemon juice)
- As an ingredient stirred into stir-frys, risottos etc
- Great in cheese sandwiches, under cheese on toast
- Can be cooked and puréed to make rich green sauce
- Don’t waste the fermenting liquid – add it to salad dressing, sauces etc or just drink it. I particularly like tequila and fermented wild garlic juice shooters.
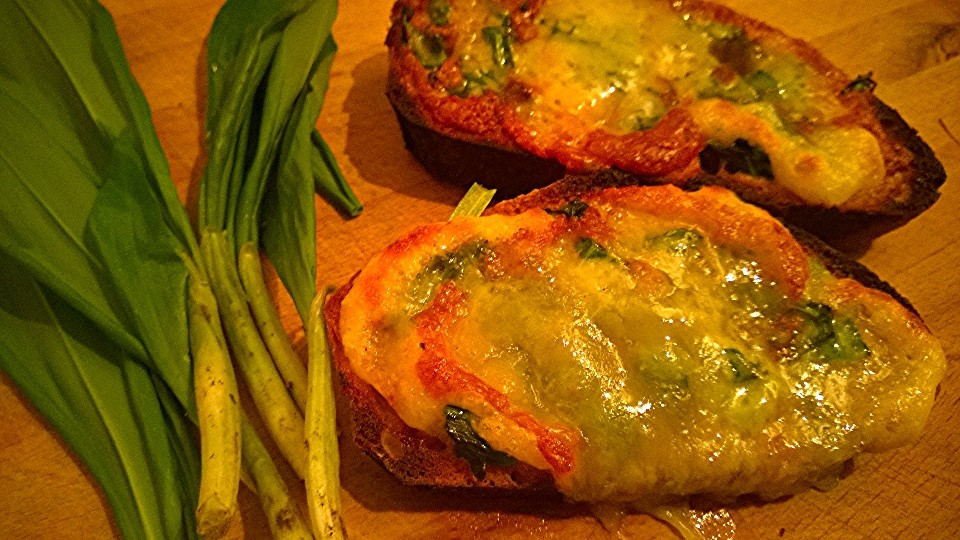
Cheese, fermented & fresh wild garlic on toast
52 Comments
Hi
Mark great website fermentation fascinates me also I use the net for recipe’s could you recommend a book or a couple that are easy to follow
thanks
chris
Hi Chris,
The Art of Fermentation by Sandor Katz is the go-to book on this subject. He has a website too.
Happy fermenting!
Mark.
These are excellent instructions, clear and uncomplicated – thank you for that ! I have been a ‘forager’ for a long time and have been wondering how to proceed to the next level, I am starting immediately !
Geat article and perfect timing for all the Wild Garlic I currently have around me..now just need to find a few more jars..
Hi Mark
V Good site – appreciate it. I’m learning a lot about foraging.
Been fermenting veg for a year or two now. Just slightly puzzled as to why you don’t fill the jar totally so that putting the kilner lid down actively pushes liquor out. Admittedly it does mean you have to stand the jar/s on some kind of catch tray because it fizzily farts round the seal as the anaerobes do their wonderful work but you are at least certain of only anaerobic breakdown. I can fit two 1litre kilner jars in a large old tupperware type container. This then goes inside a slightly larger tin – had one of those awful dry italian cakes in received years ago as a Christmas present – and the lid goes on to exclude light. Not strictly necessary but recommended. So far never had any failure. Use mainly home grown or shop bought organic veg of various kinds but you have inspired me to try with foraged food.
Hi Steve,
Thanks, glad you enjoy the website.
This sounds like it works for you – thanks for the tip. My main priority is to ensure anaerobic conditions. The best thing I’ve found is a small plastic “basket” that came in a shop-bought jar of pickles.
Cheers, and happy fermenting,
Mark.
Great instructions thank you. Just got my 1st batch going!
Very interesting! Do you add the fish sauce in the beginning pre-fermentation or once it’s ready to put in the fridge? If in place of salt what ratio fish sauce do you find best?
Hi galen, Add at the beginning. I haven’t really measured it – its not critical.
Hello. Very interesting post. I have SOOO much wild garlic on my land and am always keen to find more things to do with it. My questions are: Do you need to sterilise the jars? Would it freeze OK? Many thanks in advance for your reply. MJ
HI,
I rinse jars with boiling water (carefully, so they don’t crack with the heat!), but don’t go through full sterilisation. There is no need to freeze once fully fermented as the plants will keep indefinitely – i’m still eating last year’s ferments, which have not been refridgerated.
Mark
Just saw your reply! Perfect timing though as it’s wild garlic season again, hence me checking out your recipe again. Did not get around to it last year but will this year for sure. Many thanks for your useful reply.
Thank you for such clear instruction and your generosity of sharing what you have learned.
I have a question:
Fermenting has always been done at home when I was a child, my mother fermented sauerkraut, green beans, runner beans and other vegetables. But they where never kept in the fridge but in the cellar in large stone pots with a wooden lid weighed down with a heavy stone.The lit rested on top of the vegetables which where covered with a muslin cloth. This was replaced with a new clean one each time we took something out of the vessel. So, my question is, do I really need to keep any ferments in the fridge?
Hi Gitta,
No, you don’t, not when they have fermented and reached a level of acidity that inhibits mould/spoilage. What you do need to do though, and this is where your mother’s set up worked, is keep the preserved materials submerged in the fermenting juices, and free from fruit flies (which the smell of fermentation attracts). While plants are still fermenting they emit CO2, so shouldn’t be kept airtight.
Mark.
Great recipe Mark! Really like this recipe. I have just identified a patch of few flowered leeks that I am going to use in this recipe. Can’t wait to try them under cheese on toast!
This looks great and I’m definitely going to give this a go. Can I just check how much chili, ginger and fish sauce you would recommend using for around 50g of greens?
50g is a pretty tiny amount, especially once it breaks down a bit during fermentation. I can’t really answer this question though – it kind of depends on your taste buds! But if you aren’t using any salt, you’ll need enough fish sauce to pull out some juices and get the party going.
Hi mark
I’ve just taken my water filled baggies out of the ferment. There was initially lots of liquid. But now there is none on top of the leaves. The leaves are moist but packed down. It smells looks and tastes ok but no liquid? Is this savable please?
Sounds OK – usually if it smells/tastes good, with no sign of mould/sliminess, it is good
Tequila and fermented juice shooters. Definitely the next new trend at cocktail bars. Just having a go at fermenting wild garlic. Going to do one jar just wild garlic and salt, and the other kimchi style. Thanks for sharing your instructions and experience. So much fun!
Quick question. The picture of the dehydrated stuff above… is that wild garlic on its own? Or dehydrated after fermentation?! Curious!
It is dehydrated fermented wild garlic. I’ve tweaked the caption to make that more clear. 🙂
Hi Mark! I have a lot of few flowered leek, as well as the flowers and little round bud-like things! Can I ferment the whole lot? I was also thinking of pickling the flowers and buds, but don´t have any of the vinegars mentioned in your post. ps. love your site!
Hi Izzy,
Yes, you can ferment the whole lot. If you have time, you can harvest the little bulbils and ferment or pickle them on their own – wild wild leek caviar! All you need to pickle is some apple cider or white wine vinegar. On its own its usually too strong, but a 3 water : 2 vinegar : 1 sugar mix is usually delightful. Any infusions of other flavours into the vinegars/syrups are embellishments, not necessities! More pickling info here:
Hi Mark, is that a hot or cold vinegar mix that you add to the bulbils? And is it still acidic enough to preserve once you’ve added the water and sugar?
Cold – heat rapidly denatures the volatile compounds of alliums. See also the salting-then-pickling method described here, which also works for bulbils:
Mark
Yes, provided ph <4.5. I keep mine in the fridge if they aren't strongly vinegary.
this is one of the best instructions of how to ferment I have found! thank you for that. I have tried a few times, it was a hit-or-miss kinda affair, but I can see now what I did wrong. feeling super inspired again to start right away.
Great down to earth recipe, just how I ferment greens, Thankyou for your excellent site… I’ve been using hogweed shoots as a cooked vegetable over the last couple of years and boil them for a few minutes to destroy the toxins…. is the boiling not necessary when fermenting? are the toxins destroyed/changed by the fermentation?
Common hogweed shoots are not to my knowledge ‘toxic’n the conventional sense, but do require careful handling. This is explored in depth on my page on common hogweed https://gallowaywildfoods.com/hogweed/ . I do recommend cooking them before eating though, in order to avoid getting the phytophototoxic sap on lips/hands/face etc, which could be problematic.
I do not recommend cooking plants prior to fermentation. Hogweed is a tricky plant to ferment. A combination of its hairiness (which traps air), and phytochemistry, often result in the ferment going ‘off’ in my experience – so it is much less reliable than, say, wild garlic. I’m still working on finding the best way to ferment common hogweed, but would always be fermenting it from raw. Fermentation should render the phytophototoxic fouranocoumarins inert, but I have no evidence to confirm this.
Thanks for this guide! I followed it this year for my first attempt at fermenting veg (wild garlic), absolute win
Hi Mark! Would you say then that Common Hogweed is totally safe to eat raw after it has been fermented?
I made some wild garlic and hogweed kimchi back in May but then started panicking about the sap and any reaction I might have ♀️
It smells amazing but I’m worried about eating it… I only thought about it afterwards!
I’ve tried putting it on my lip and in my mouth without swallowing and have no reaction…
Would you say that fermentation works in the same way as cooking to make it safe to eat? Many thanks in advance, Tee ♀️
I can’t say for certain, but my feeling is that it would be fine – I would eat it. Well done successfully fermenting the hogweed – i’ve had many attempts at this go nasty. Combining with wild garlic is a good move I think. 🙂
Hi Mark. Having seen Tee’s instagram post yesterday about fermentation of hogweed and Wild Garlic, I went out and picked a load of hogweed just now- then had the same thought that Tee asked you Mark! Five years on and she’s still doing it so I’ll give it a shot! ☺️ Great info Mark, cheers!
Thanks to Mark clarifying the difference between phytophototoxic and toxic for me I’ve made several batches of mixed greens including common hogweed this year, no problems with ferment or phytophototoxic reaction and the hogweed is delicious.
Going ďown the woods now to collect a bag of wild garlic to give this a go , I’ll let you know how i get on at a later date
Will the process work with wild garlic that has been frozen?
I’ve never tried, as fermentation is how I tend to deal with the glut instead of freezing. Let me know if you have any joy!
Mark.
Hi, my wild garlic has produced very little brine. I used about 3% salt to the weight of leaves. Can I salvage them?
That’s curious. Are you sure you have pressed it down really firmly in a (narrow) jar? Usually it has exuded enough to cover itself, provided your vessel isn’t too wide and you have pressed it firmly. If you still don’t have enough liquid, make up a 3% brine and add that. I don’t recommend using tap water for this as it often has chlorine etc in it, which can inhibit fermentation.
Mark.
Last year, I consistently had problems with wild garlic not producing much liquid, BUT each time I had put the garlic in the fridge for a few days before getting round to it. So I think the issue was the leaves losing water sitting around. I’ve been quick with each batch this year, and so far so good.
Great instructions, thanks. I’ve fermented veggies before but not greens. Am going to try with the new crop of dandelion leaves that’s sprouted in my lawn!
Thanks for this, I used your site often when I was still in the “not sure of ID” phase, and now this fermenting guide is really clear and helpful. Got my first attempt on the go now – looking good, I didn’t make enough but it’s a test batch. Probably will start a bigger one in the coming days.
Great explanation, thanks…..I have been making homemade milk kefir for some time and would be interested to hear if you have experience of using the whey for fermenting wild garlic. Here in South Devon we have a bumper crop; beautiful plant too!
Yes, I have used whey to help get ferments underway. It can definitely help, but I don’t find it necessary for fermenting wild garlic as it is such a willing and reliable fermentee! Whey is helpful to encourage less willing greens to ferment. Mark.
Thanks for this guide, it’s both detailed and very easy to follow. One of the best I’ve come across.
I separated them into leaves, flowers and stems, and buds and stems. Even though I’ve pressed the flowers and buds down hard, I can see little air pockets! Will leave them for tonight, and will add some mineral water to brine it…or should I pickle them?
I followed your steps, thanks so much for sharing! I’m eagerly awaiting a week to pass so I can try the ferment. There’s a cloudiness/layer of deposit forming at the top of the ferment where all the liquid is. Is this normal/anything to be concerned about?
Some frothing is normal.
Mark.
I just wanted to tell you how much I appreciate all your recipes and advice. Been busy fermenting wild garlic and the first batch tastes wonderful.
Thank you for sharing this.
Have you ever thought of the possibility of the salt solution extracting harmful materials from the plastic container you use as a weight?
I have, but it doesn’t worry me, though I understand it might worry some. TBH, I find weighing down isn’t necessary for fermenting wild garlic anyway – the advice is just “belt and braces”.